Showing posts with label DCWV. Show all posts

Tuesday, June 21, 2016

Fire & Dragonfly Lantern

It's a bit of an overcast day today, so I thought I'd light up my lanterns for their moment in the front of the camera!


Both of these are from the new Summer Nights and Flights bundle by Dreaming Tree. I actually had the same Violet Leaf stack of DCWV paper and so I made my first lantern (the one on the right) to look almost exactly like the one that Dreaming Tree shows on their website. 

I made a second lantern for a neighbor who just returned from a few months in China and who brought me back the gift of a beautiful silk scarf. To me this lantern has somewhat of a pagoda feel, so I made one in green and gold to use as a thank you for the scarf.  I used paper from the same stack, although this time it's metallic gold flowers on a green background.  


I embossed the gold panels with a Cuttlebug Oriental Weave embossing folder which seemed to make them super shiny with all the extra facets to reflect light.


I also added a gold glitter ball on top as shown in the assembly video, but rather than paint mine with glitter paint, I covered it in quick dry glue and sprinkled Martha Stewart ultrafine glitter on it and then let it dry for a few hours before gluing it on top with some Glossy Accents.

BONUS!  Dreaming Tree just added some FREE Autumn Nights and Frights panels for this lantern so it can be used for Halloween too!  Now I can't wait to make the spooky version!

I hope my neighbor enjoys the lantern. Thanks for stopping by to check them out!  


This post may contain affiliate links. If you purchase a product using the link I may receive a commission.  I only participate in affiliate programs for products or services that I personally use and recommend.  

Sunday, May 8, 2016

Sandcastle


One last post for today - here is my version of the 3D sandcastle from SVGCuts Wet N Wild kit.

I'm pretty much in love with anything beach related, so this is one of the first kits I think I ever purchased from SVGCuts.

I put this together last summer and added a few extra embellishments from my stash like the sand dollar ribbon going across the top. The paper is from the Citrus Stack by DCWV.


I also smeared some Distress Stickles (color is called Straw I think) onto the castle turrets to add a real sand texture and a little bit of sparkle. I wasn't sure if I was going to like it, but when it dried, I was in love with the effect!


I love that little crab with his wide eyes.  I think I might have to use him on a crabby birthday card for someone this summer!!  Or maybe holding a little flag for the Fourth of July.  So cute!

Thanks for stopping by. As always, I'd love to hear what you think.

Fairy Cottage


I'm so excited to have completed the Fairy Cottage from SVGCuts! It took my several days to get started on this because I was having a hard time picking out paper. Honestly, that's the hardest part of some of these projects. I went with a primarily pink and green theme this time, but have about ten alternatives in my head in case I feel the need to build an entire fairy village!

I started out with the Whimsical World Stack by DCWV and picked several papers that seemed to go well together.


I used the Tim Holtz wood grain texture fade for the 'stump' panels. This was my first time adding ink to the embossing folder before running it through the machine and I love how it came out. I think
it really enhances the dimension of the embossing. I used TH Distress Walnut Stain. I will definitely be doing this again.


I just recently completed Tim Holtz's April tag challenge (and won!) using the new Distress Paper Mosaic Kit. This certainly made me think of how I could use this kit on so many different svg projects.  I didn't use the grout here, but I 'tiled' some leaves onto the patio. The leaves were fussy cut from leftover paper from the right side roof.


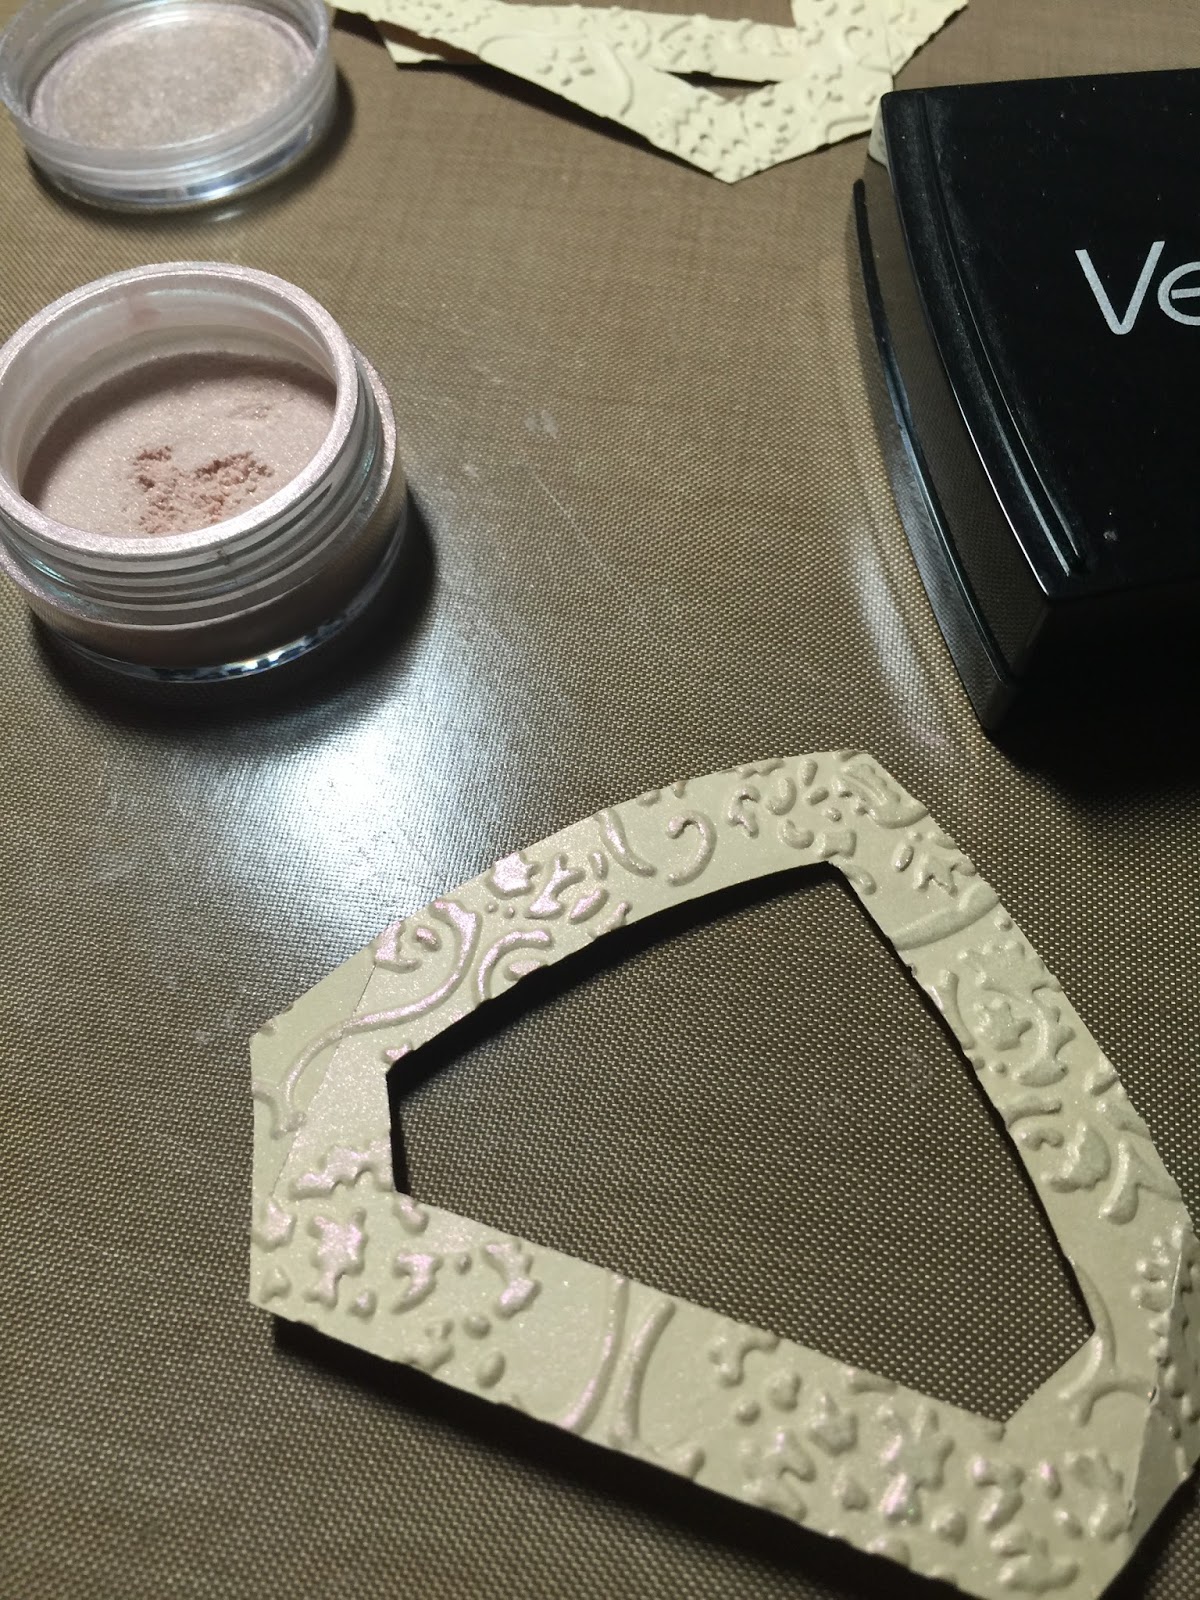
I embossed the window frames and dusted them with Perfect Pearls (in Blush) to add a little bit of magical shimmer. You can see the shimmer below along with a picture of the twig railing I installed with the use of some hot glue and a lot of patience. I'm still finding twig bits here and there around my workspace!


Here's the roof to which I added a fun little butterfly from a Martha Stewart punch. Also, the brown roof trim was not showing up very well against the boldly patterned paper, so I added some blue liquid pearls to it so it would stand out more. 


It's hard to see, but I also added some iridescent Stickles to the cotton smoke coming out of the chimney. I wanted it so seem as though the fairies were brewing up something magical in there!

Added bonus, when turned the lights on in the cottage, I noticed the light is shining up out of the chimney which I think totally adds to the magical effect.  Love this happy accident!


I love what I call the 'bubble' paper so much that I put it on everything from the chimney to the stairs. Kind of like magical cobblestones!  And the leaves from this right roof paper are what I used to tile the patio. 


Last but not least, here is the cottage all lit up. I know the doorknob looks like it's glowing, but there's actually a little pink pearl on there.  More magic from the fairies I suspect!


I embellished with some flowers made from the Tim Holtz Tiny Tattered Floral die and the ladybug wood piece is something I made a year or two ago using a technique I saw on Pinterest.

It's basically stamped with a rubber stamp and then I used a wood-burning tool to trace the stamped image.  It's been sitting on my desk for way too long and seemed like the perfect addition to my fairy cottage. It also coordinates nicely with the papers as there are some ladybugs in a few of the prints.


If you've made it this far, thanks for hanging in there and thanks for stopping by! Wishing you some fairy magic!