From the moment I saw the 'coming soon' post on Instagram for this ladybug box, I was in love! Ladybugs hold a special place in my heart and as a result, I have a small but unique collection of ladybug treasures that I've accumulated over the past 25 years. Because of this, I was understandably excited to see two of my favorite things, ladybugs and paper, come together in this adorable 3D box from Dreaming Tree's Love You More bundle.

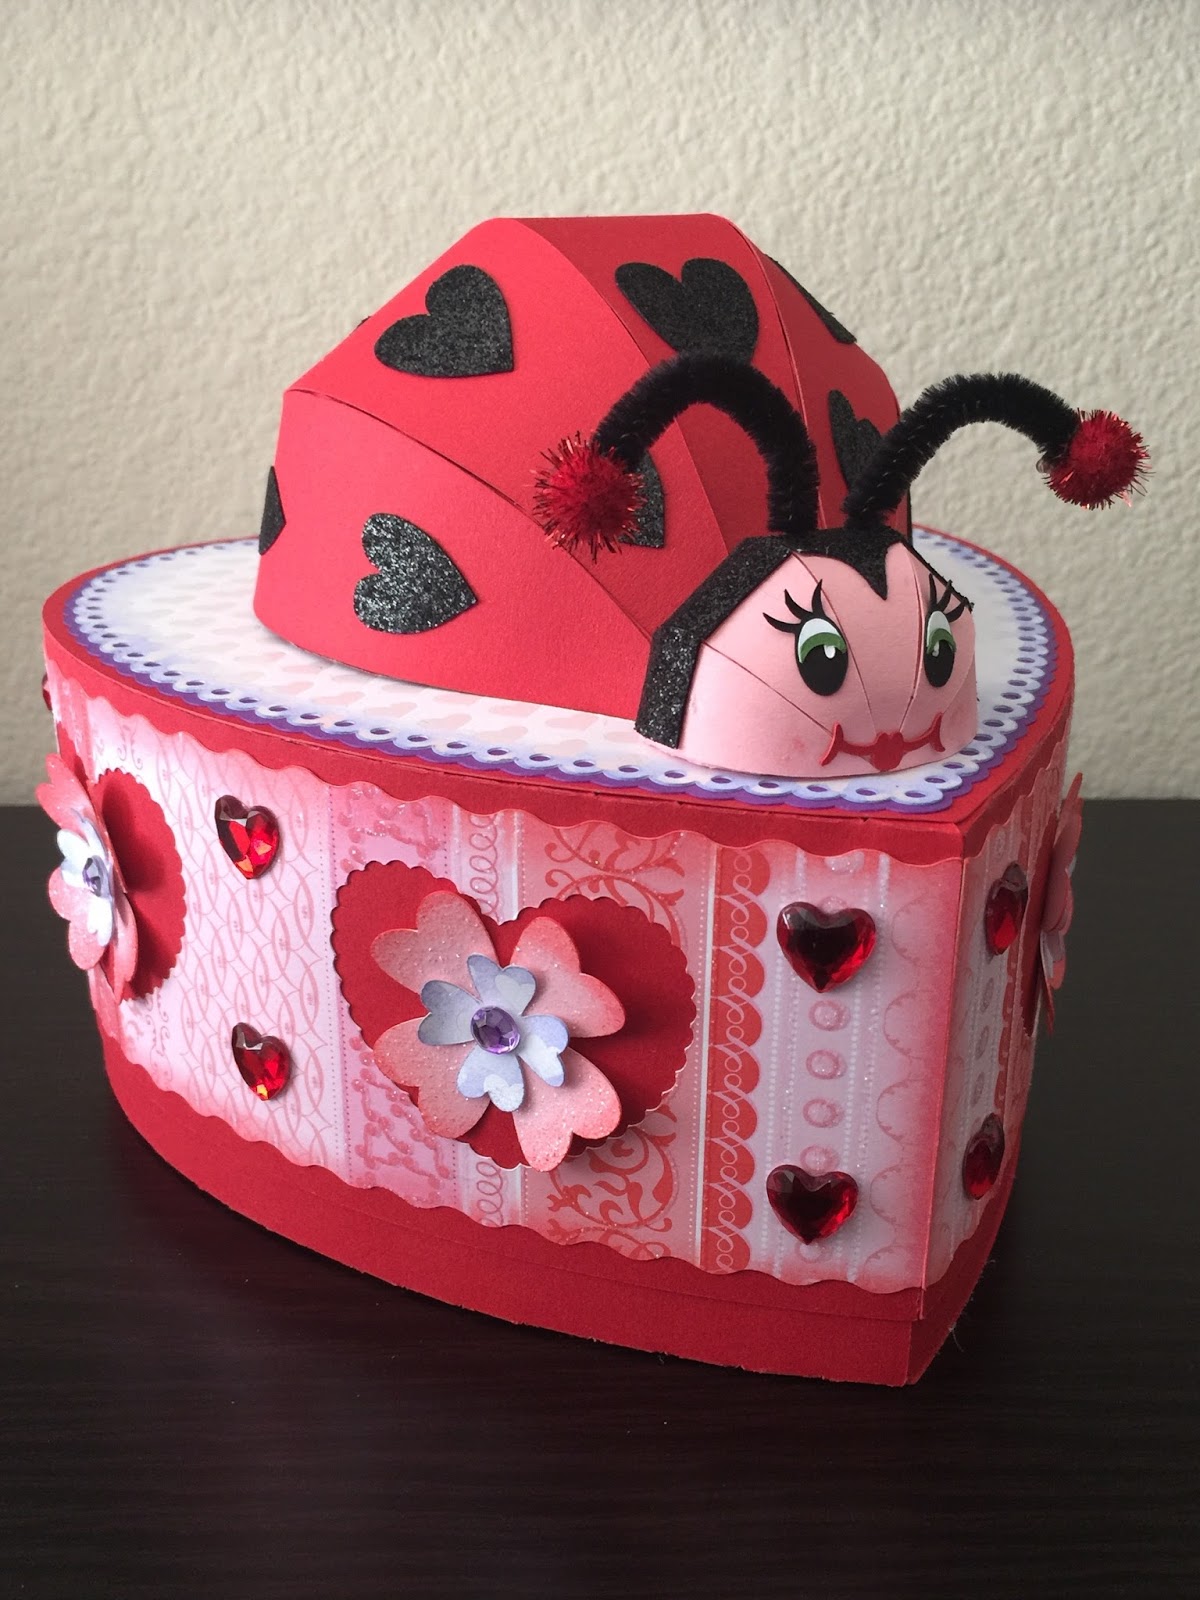
I have no intention of using this box as a mailbox or bank, so I hid the contours for the mail slot when I was laying this out in Cricut Design Space prior to cutting. You can see above that I added some hearts to the back center panel of the ladybug's body where the slot would have been. I also changed the direction in which the hearts point.
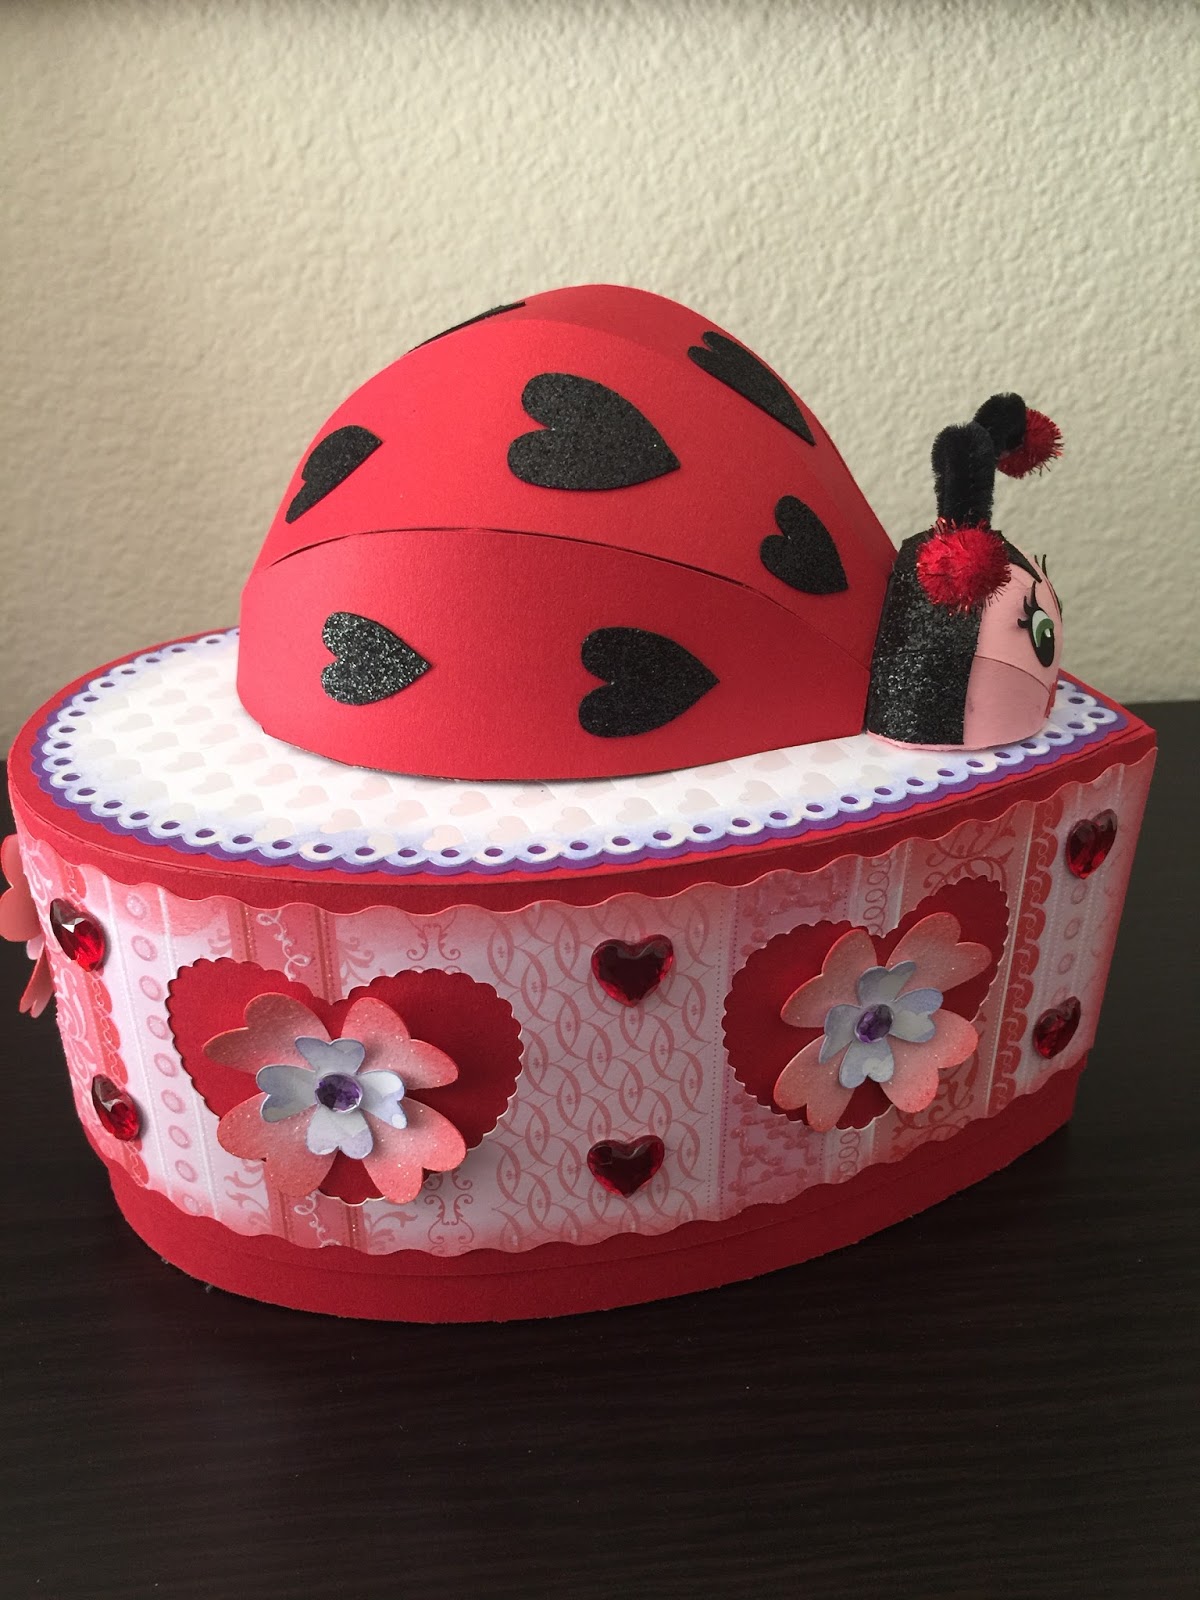
This side view shows how I redistributed the hearts on the ladybug body as well as some of the flower embellishments.
I cut the larger flower out of light pink glitter paper and inked the edges with some abandoned coral Distress ink. The smaller flowers were cut from the same pearl paper I used on the top of the box which is pearl heart print which I also inked with Distress, this time in shaded lilac.

I liked how the purple gems in the original project tied the colors all together, but I didn't have any purple gems. Alcohol ink to the rescue! I simply dabbed some Purple Twilight alcohol ink from Ranger onto some clear gems and behold...purple gems! I use this little trick a lot to create gems, pearls and other embellishments that match my project color scheme.

The pipe cleaners I have are so thick and fuzzy that when I tried to loop them, they looked large and rather silly, so I kept them short and hot glued some glittery red pom poms to the ends.

I love how this project came together and am so thrilled to finally have a 3D paper ladybug! I think I'll be making more of these in the future.
Thanks for stopping by!
No comments:
Post a Comment