Thursday, December 7, 2017

Mini Winter Wonderland


This is a very quick post to show a project I made yesterday. It was 100% inspired by Richele Christensen's Winter Wonderland project which can be found here.

I still want to make the full-sized project at some point, but for now I've made a smaller, card-sized version using the same Tim Holtz Sizzix dies and some Chibitronics lights.  In my haste to create, I didn't think to take a picture of the circuit I set up, but it was a pretty easy one.  I used 3 white lights under some vellum to give it a bit of glow.  

And now I can't stop playing with the on/off  'switch' as it's so much fun to see this light up over and over again. I'm like a kid with a new toy!


I love this so much I'm not sure if I'll be giving it away or keeping it for myself. It's like my own personal version of a fidget spinner.  Lights on, lights off, lights on, lights off!  


One more picture from the side so you can see the pretty glitter that doesn't show up in the other shots.  

Thanks for stopping by!

Friday, December 1, 2017

Oh Christmas Trees!


I'm sure that just about everybody making one of these Heirloom Christmas Trees from SVGCuts has a memory of one of the ceramic Christmas in their home when they were growing up.  My grandmother made some of the most amazing ceramics projects and we had a beautiful ceramic tree with toys around the base that I can remember from 30+ years ago. I couldn't wait to make a paper version for myself!

I'll try to keep this post relatively short, but include some details on what I did differently.  I really like the idea of a tree trunk for the base, so I used an inked embossing folder to run the base panels through my Cuttlebug.  I used some lightly glittered green cardstock for the tree which adds a pretty sparkle, and popped on some red bird bulbs in place of clear to add to the woodland character I was going for. 


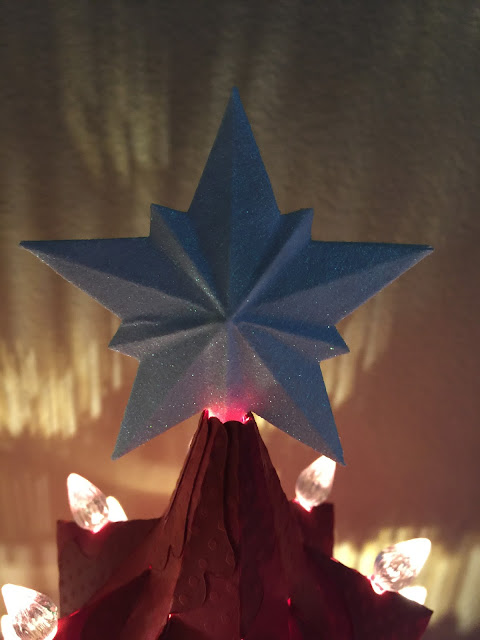
I really wanted my star to have a little glow to it, but was planning on using the candle lamp as my light source, so had to get creative with how I'd throw some light out the top. I added vellum to the backside of both of the star pieces and inserted a tiny little piece, probably only about 1/4" long from a drinking straw in the hopes that some light would carry upwards.  It worked! It's not terribly bright, but it does give the star a nice glow I think.


Next up, a red tree for a family member who just adores the color red.  I think she's going to love it!


I made a a white glitter star using Tim Holt's Dimensional Stars thinlit die. I cut out two of them and glued them back to back to get one very dimensional star.


After making the trees, I kept thinking about adding some toys under them to mimic the tree my grandmother made so many years ago. Then an idea hit.  

I couldn't have a tree without a train!


Yes, it's a real working train and a relatively inexpensive one at that!  I found this Westminster Train in a Tin on Amazon and had to give it a try. It's remarkably powerful for a little battery-operated train. I was holding off on this blog post until my train arrived and once it did, I realized that the track wouldn't go over the cord from the candle lamp! So I built a little tunnel that I could lay the cord over top of and the train goes right underneath. It was a quick little project that I didn't even use my cutting machine to do. I'll definitely be dressing it up at some point, but it's good enough for now. I was in a hurry to test out my train!


I have one or two more trees to make, but now that I've done a few, they should go together pretty quickly.  

Thanks for stopping by!